
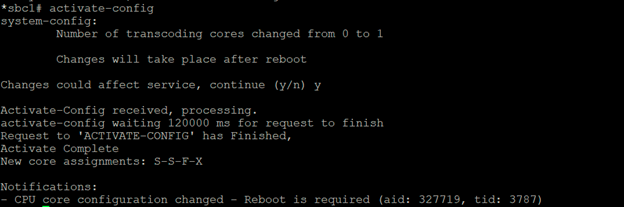
Before configuring let’s verify that our virtual environment have the correct core assignment for transcoding issuing the command:

In the previous command 4 core CPUs are assigned to the SBC (3 for Signaling and 1 for Forward), but no CPU is assigned for transcoding (it’s represented with an X), after modifying the system-config settings and applying the changes, a reboot of the device is required:
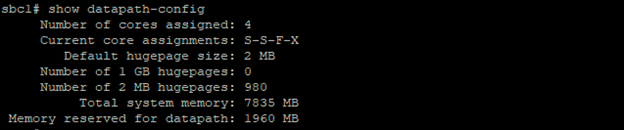
The confirmation for the transcoding core can be seen now with the commands:

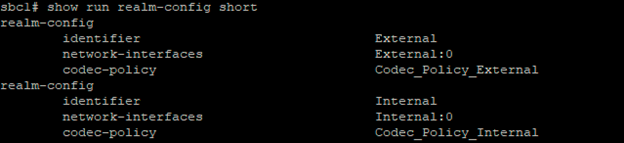
Its now time to configure the codec-policies (2 codec-policy are created, please verify the entry Oracle SBC – Lab Setup Transcoding – SBC transcoding explanation in case of any doubt):


Finally, they were added to the realm-config elements for External and Internal:
This concludes this entry.