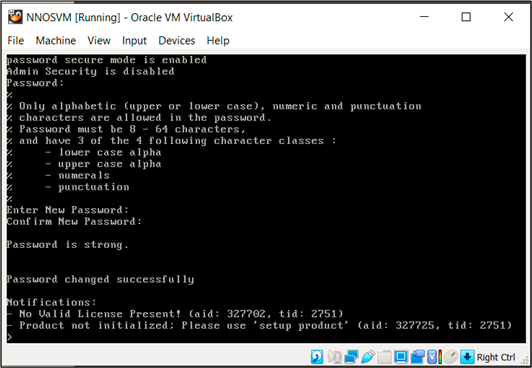
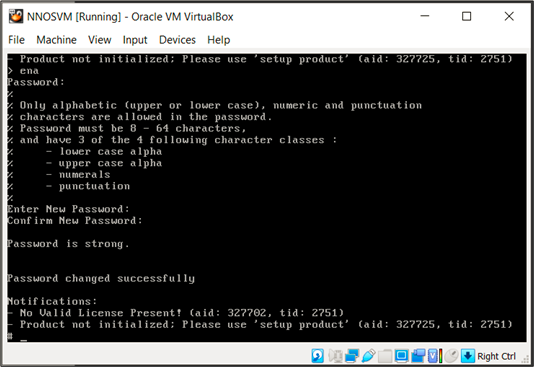
After turning on the Oracle SBC use the default passwords (first password is acme, and enable password is packet) you will be forced to change the password to meet security policies.
After password are set, next step is defining how this Oracle SBC will operate in the network.
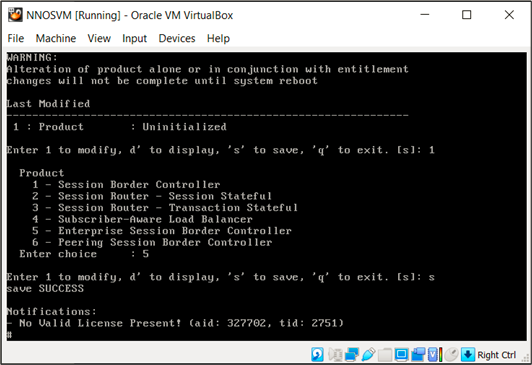
This is defined with the command:
setup product
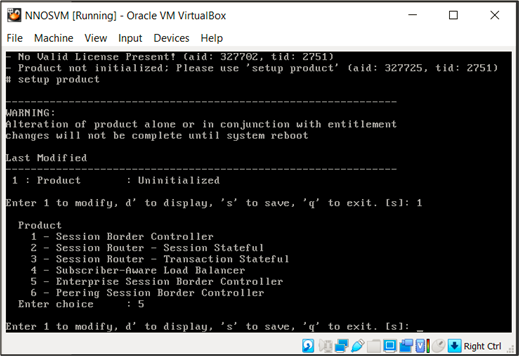
Enter 1 to select and modify the product option to be applied.
After this, a menu with multiple choices will be displayed. Depending on the selection, different configurations may be available on the command line.
In this case this Oracle SBC as an Enterprise Session Border Controller (option 5).
Select s to save this selection and exit the menu.
Next step is set up the licensing for this Oracle SBC, use the command:
setup entitlement
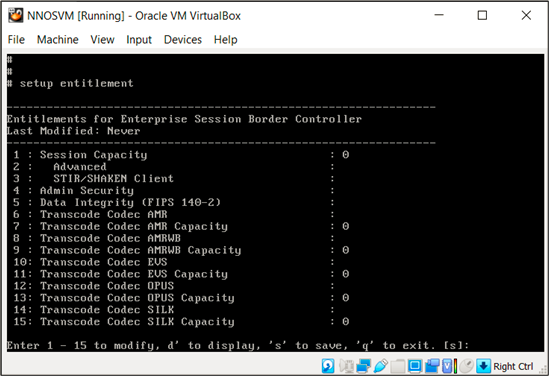
Using the menu, select Session Capacity (option 1), in this case I will use 10 licenses.
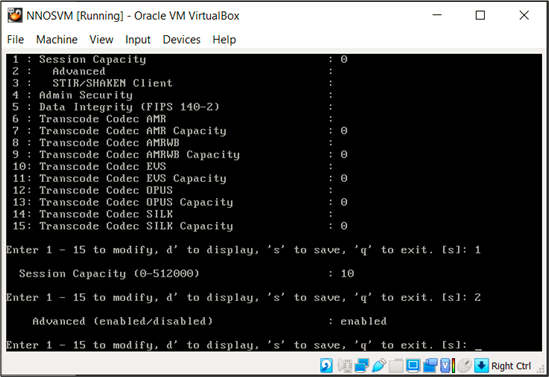
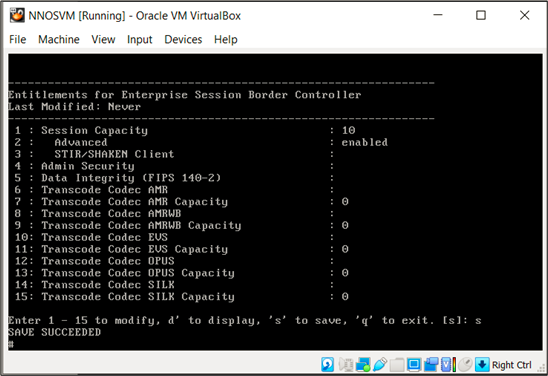
For testing purposes advanced licensing is also enabled this will permit to test with Session Recording, Load balancing, etc.
The last step in this entry is to set up the management interface to be able to access the OSBC in the network and assign a name.

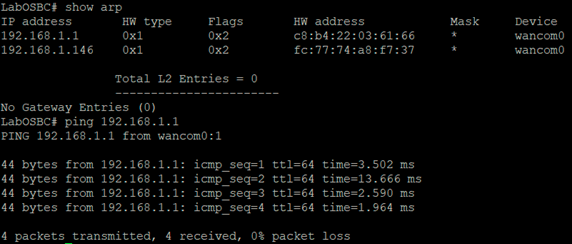
After rebooting, SBC must show LabOSBC in the prompt name and must reply in the network.


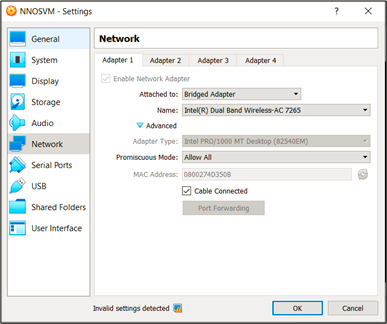
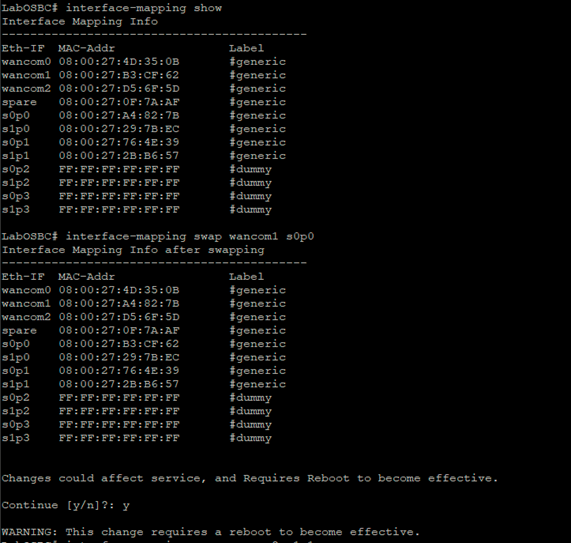
In case of any issue wancom0 interface must be verified to be mapped correctly in the network assigned in the virtual machine settings. One easy way to perform this is using command:
interface-mapping show

In case of an incorrect interface mapping between the VM settings with the interfaces in the Oracle SBC use the following command to swap the MAC addresses. Important note, any swap change requires a reboot of the virtual Oracle SBC.
An easy way to verify connectivity is pinging to the default gateway or issuing the following command:
show arp