
Once OS is installed lets install a few additional software needed to administer and complete the testing on this environment.
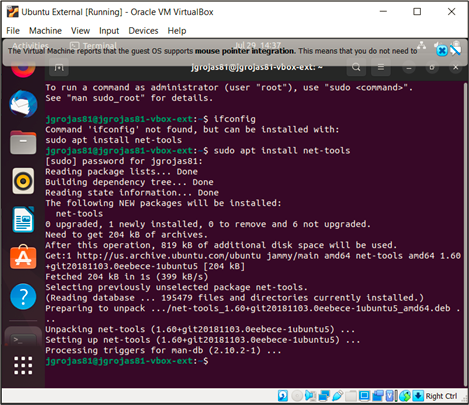
Net-tools needs to be installed to have some commands available within the command line.
apt install net-tools
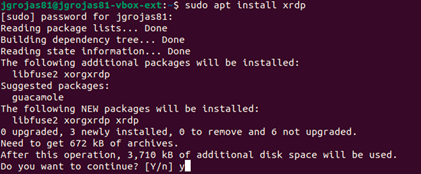
To make Ubuntu VM available to use RDP will install xrdp and make it available with the following commands (if needed use sudo):
apt install xrdp
systemctl enable xrdp
ufw allow from any to any port 3389 proto tcp


Ubuntu Desktop will be available to SSH installing openssh and allowing it in the firewall with the following commands:
apt install openssh-server
ufw allow ssh

Install Wireshark with the following commands:
apt update
apt install wireshark
usermod -aG wireshark jgrojas81
Finally for testing purposes we will need to have linphone installed:
add-apt-repository ppa:linphone/release
apt-get update
apt-get install linphone -y


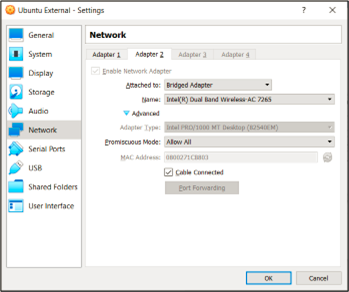
The final step is assigning 2 IP addresses in different interfaces as described in the entry Environment Description. In VirtualBox, open the network settings for the Ubuntu desktop and enable Adapter 1 with the following settings:

Setting to Internal Network, VM is only connected to other VMs within the same subnet.
Adapter 2 is set Bridged Adapter, make sure select the correct interface in your machine associated with the external access to internet:
Now in Ubuntu desktop OS, open network settings:
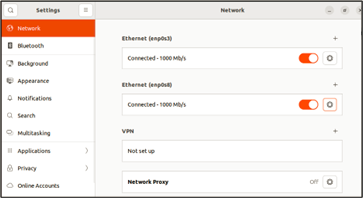
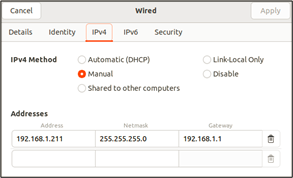
Click on the gear icon for the first Ethernet interface and select IPv4, select Manual and enter the assigned IP for this VM:
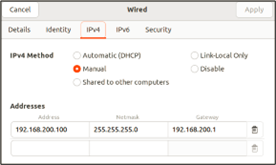
Click on apply changes and disable/enable the interface, this will bounce the interface applying the changes. Repeat the last steps to assign the IP address in the next interface.
Repeat all steps to install the internal VM, make sure you assign the correct IP addresses.