
In this entry we will focus on installing the ISR software, we will assume Oracle Linux is installed with all preparations completed. Confirm all servers have internet access.
An important note is ISR components MUST be installed in the following order (will not work if installed in any other order):
1. Index
2. RSS
3. Dashboard
Let’s start with the Index server, these are the commands to be issued:
yum remove mariadb-libs
sudo yum localinstall /tmp/isr-Index-<release#>.x86_64.rpm
sudo /opt/isr/configIsr.sh
After running the last script multiple, it runs a wizard that:
- Install MySQL (included in the ISR rpm file)
- Map the physical network interfaces in the server to ISR networks
- Set time zone to UTC
- Request to change the MySQL root password
- Restarting the MySQL process
- Update server schema
- Create a “ISR Administrator Account”
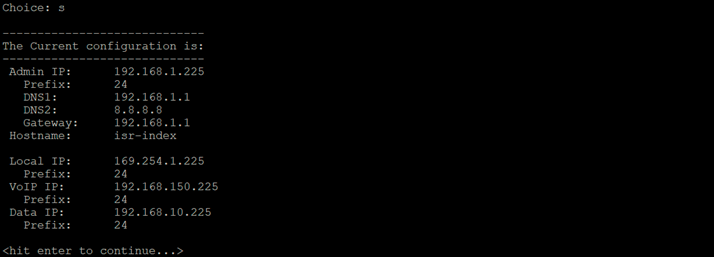
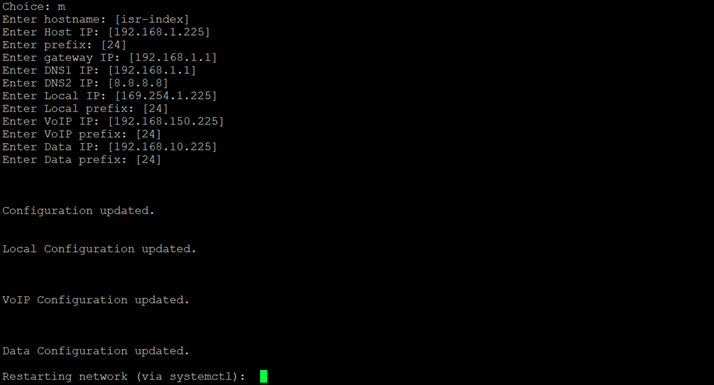
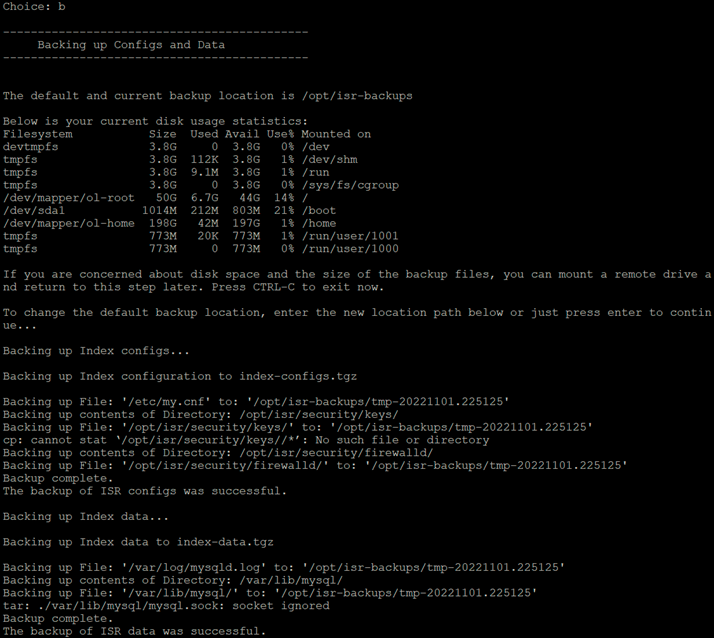
After completing the configuration script, a menu is displayed letting to view/change the settings previously set in the wizard (you can always use this script to modify settings in the future), here are the screenshots with all the menus selected one by one:


Now we will proceed with the RSS installation, these are the commands to be issued:
sudo yum localinstall /tmp/isr-rss-<release#>.x86_64.rpm
sudo /opt/isr/configIsr.sh
After running the last script, a wizard runs that:
- Install dependencies (included in the rpm file)
- Map the physical network interfaces in the server to ISR networks
- Generate ISR applications security key
- Setting password for multiple MySQL users
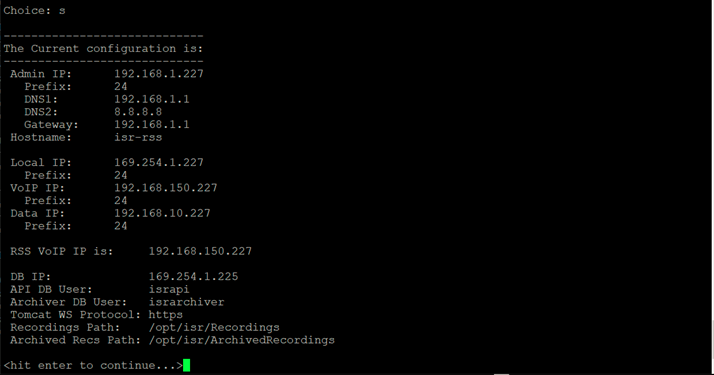
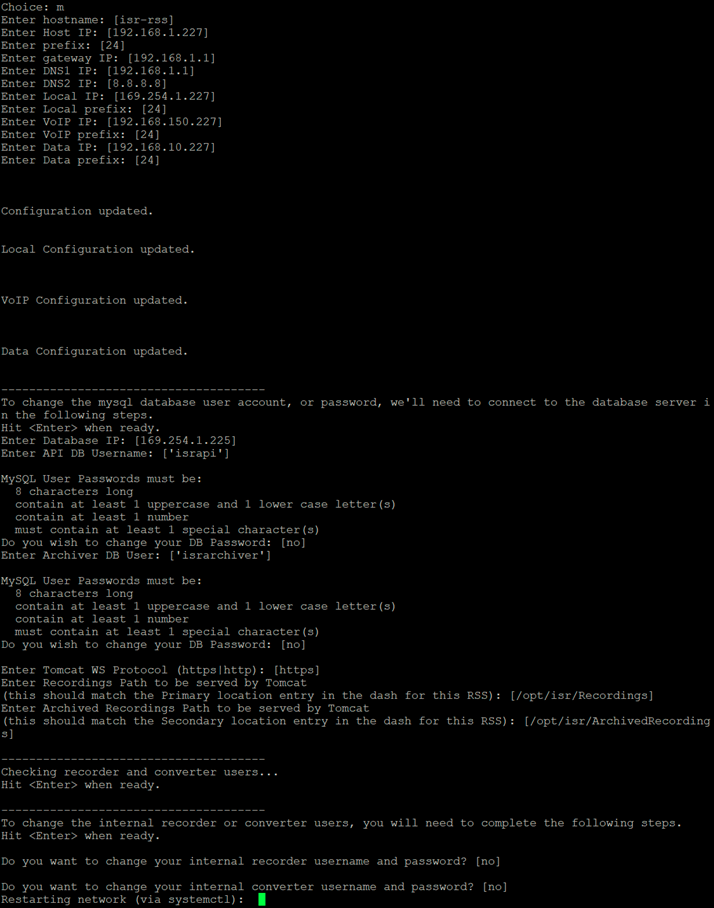
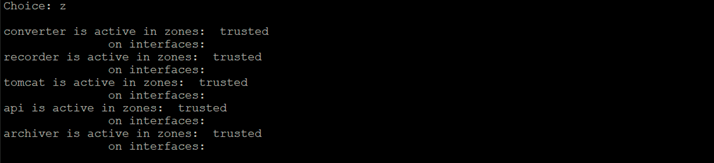
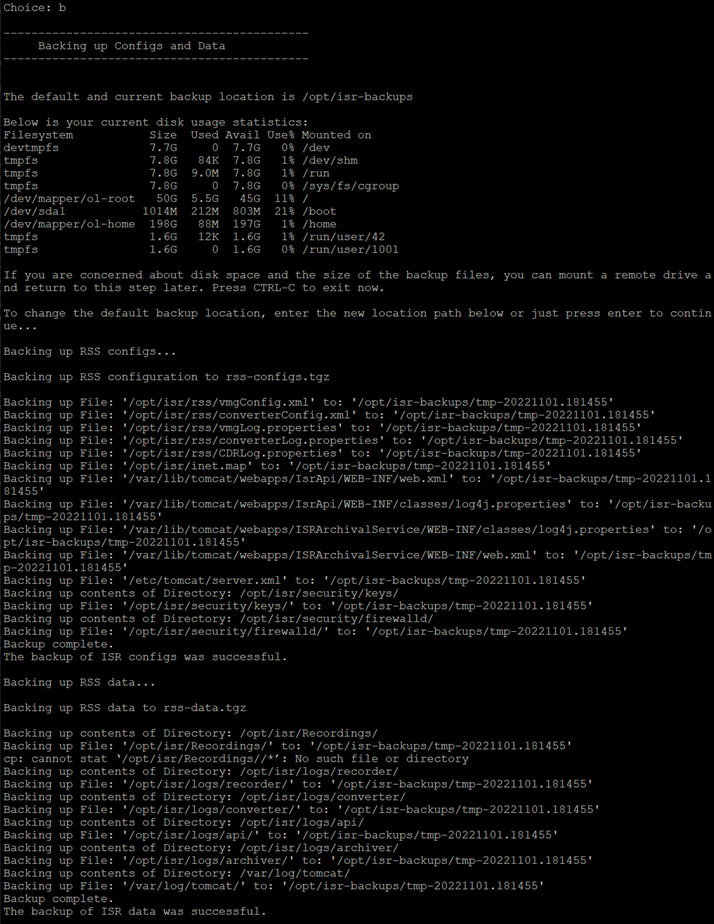
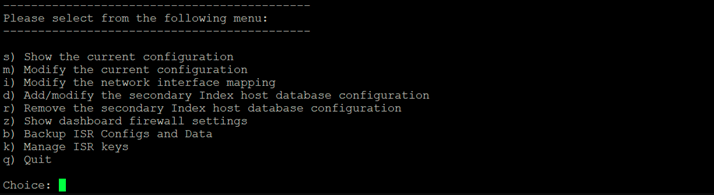
After completing the configuration script, it displays a menu that lets you view/change the settings previously mentioned (you can always use this script to modify settings in the future), here are the screenshots with all the menus selected one by one:


Finally, lets proceed with the installation of the Dashboard server using the following commands:
sudo yum localinstall /tmp/ruby-2.6.4-1.el7.centos.x86_64.rpm
sudo yum localinstall /tmp/isr-Dashboard-<release#>.x86_64.rpm
sudo /opt/isr/configIsr.sh
After running the last script multiple information is requested:
- Install dependencies (included in the rpm file)
- Map the physical network interfaces in the server to ISR networks
- Generate ISR applications security key
- Setting password for multiple MySQL users
After completing the configuration script, it displays a menu that lets you view/change the settings previously mentioned (you can always use this script to modify settings in the future), here are the screenshots with all the menus selected one by one:


As the final step and post-install verification in the current entry, a web portal should be available when accessing the Dashboard IP address using https.
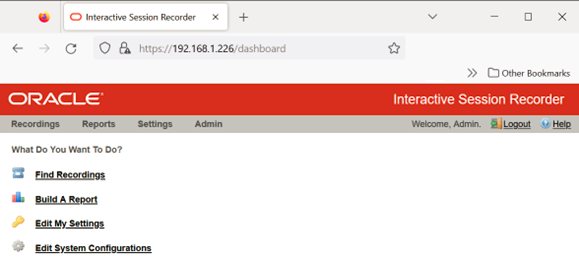
This concludes this entry, next entries will work in the basic setup for ISR.