In this entry we will focus in upgrading an AES version 8.1.2 to 8.1.3, to accomplish this we will fist deploy a new VM with OVA 8.1.3 file version and we will connect it into the network using a temporary IP address, allowing us to perform preparation task and have the VM ready just for the cut over maintenance window.
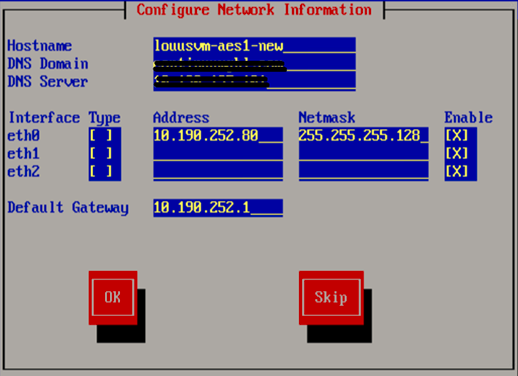
In order to simplify the information presented and the simplicity of the OVA deploy, it will be omitted, the most important part in this step is setting up the network connection using a temporary IP address, this can be completed within the wizard or using the command (using the proper permissions):
/opt/mvap/bin/netconfig
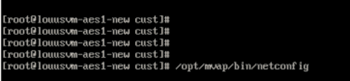
We will use the previous command later in this entry.
Here is the process to follow:
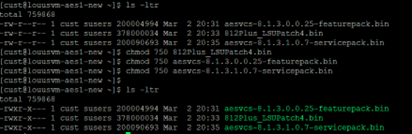
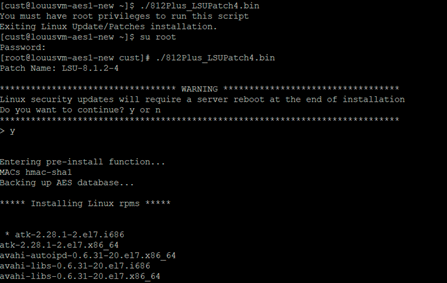
- Apply the service pack/feature pack/Linux Security Update (refer to the entry Avaya AES – Admin task – Update process in case of any doubt)


2. Keep track of the current configuration Backup configuration (Screenshoots)
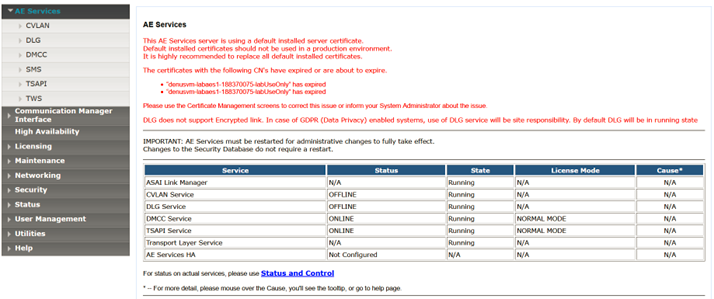
AE Services
AES Services -> CVLAN -> CVLAN Links

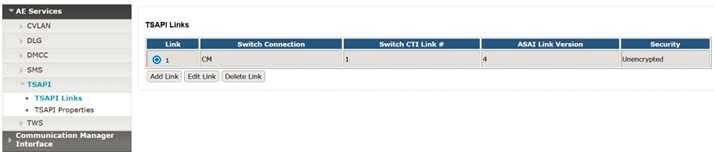
AES Services -> TSAPI -> TSAPI Links
Communication Manager Interface -> Switch Connections

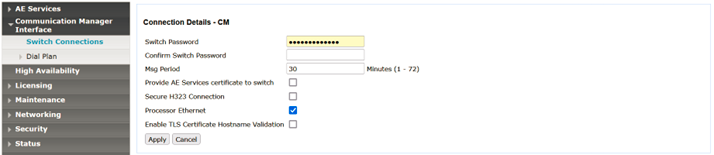
Communication Manager Interface -> Switch Connections -> Edit Connection
Communication Manager Interface -> Switch Connections -> Edit PE/CLAN IPs

Communication Manager Interface -> Switch Connections -> Survivability Hierarchy

Maintenance -> Date Time/NTP Server

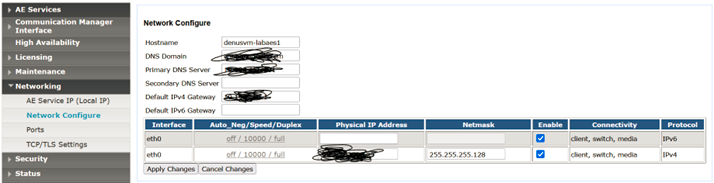
Networking -> Network Configure
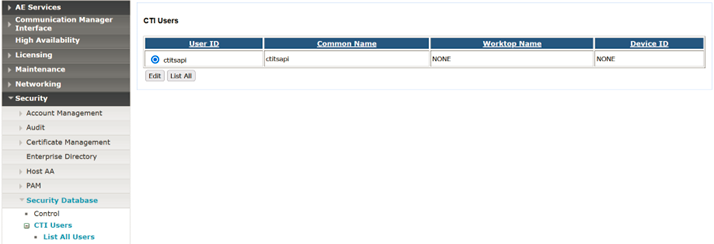
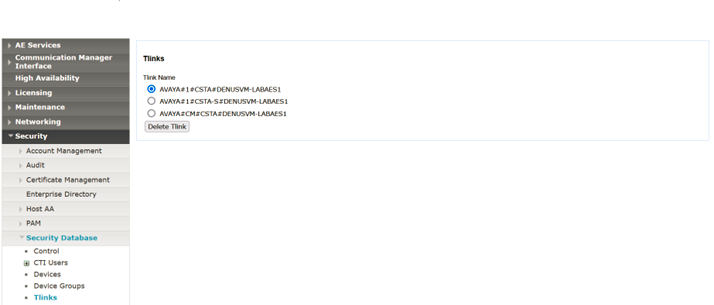
Security -> Security Database -> Tlinks
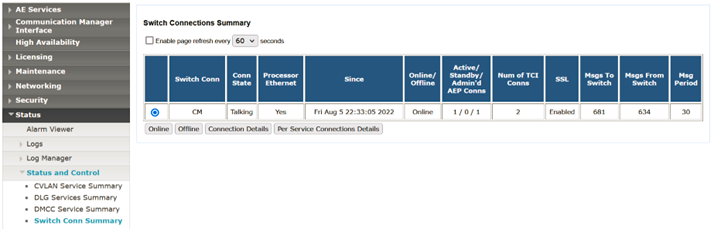
Status -> Switch Conn Summary
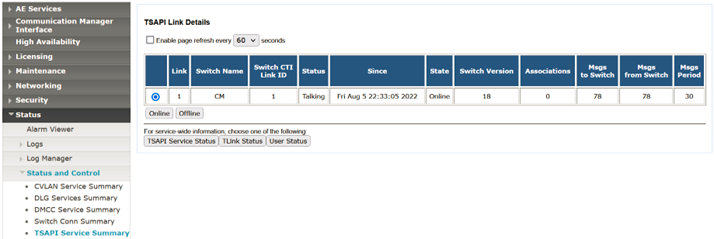
Status -> TSAPI Service Summary
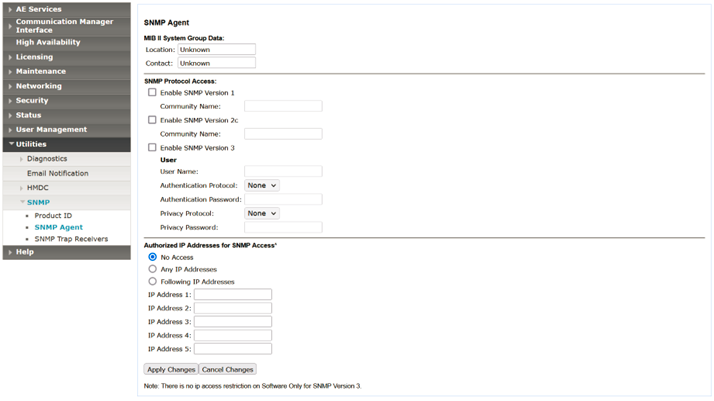
Utilities -> SNMP -> SNMP Agent
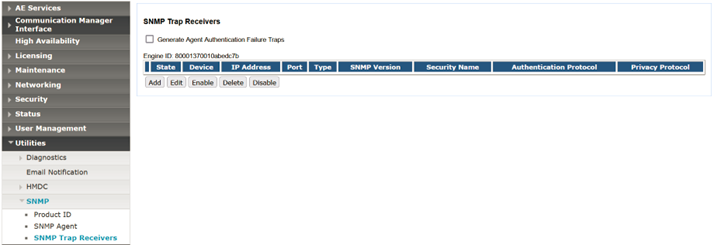
Utilities -> SNMP -> SNMP Trap Receivers
3. Maintenance window
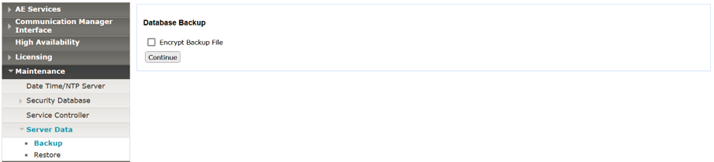
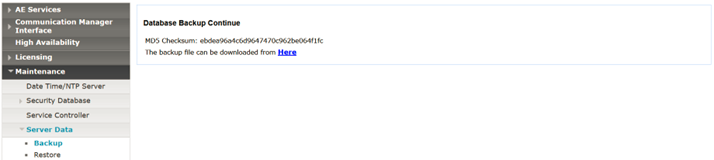
Create a backup file Maintenance -> Server Data -> Backup and download
Shutdown production server
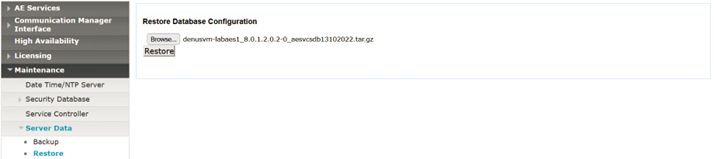
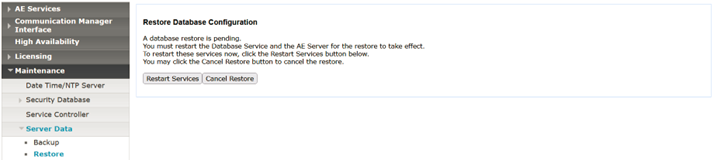
Restore backups
Last step is verifying all services and validate everything is up and running correctly to start testing applications. This concludes this entry.